Converting a personal picture into counted embroidery requires translating smooth digital pixels into discrete physical thread crosses. Our browser application calculates your chart locally, matching every color against standard embroidery floss while giving you immediate visual feedback on your screen.
When you convert image to cross stitch charts online, the quality of the finished needlework depends on four core factors: crop composition, pixel grid resolution, palette reduction algorithms, and accurate color science. Below, we examine each stage of the conversion pipeline, explain how our software handles challenging colors, and share benchmarks from our own test runs.
How our converter turns a photo to a cross stitch pattern
Our image to cross stitch pattern converter executes a four-step pipeline directly in your web browser. The application processes your image using fast client-side routines right in your browser. Previews are computed on your device, so there is no upload wait while you adjust settings.
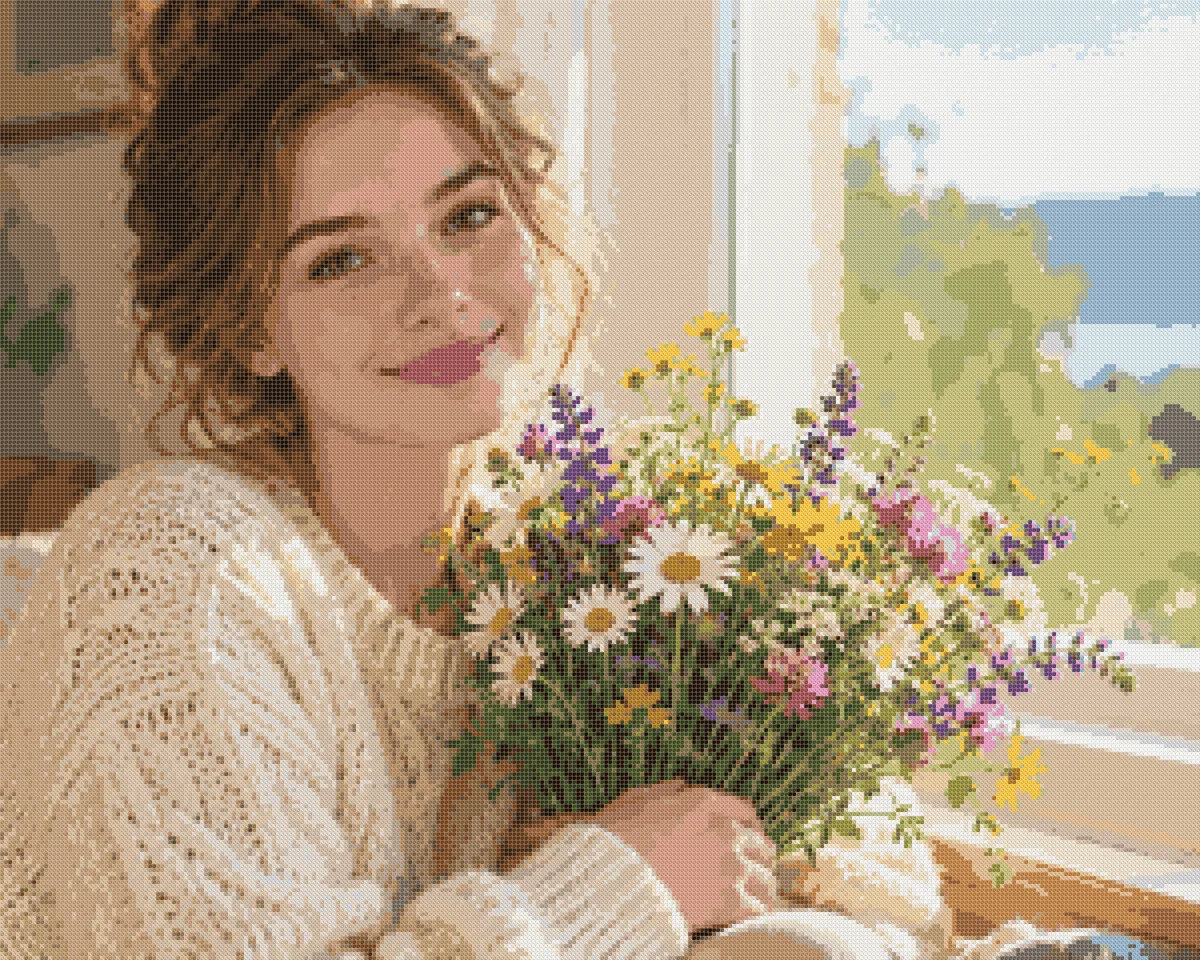
Step 1: Cropping and grid mapping
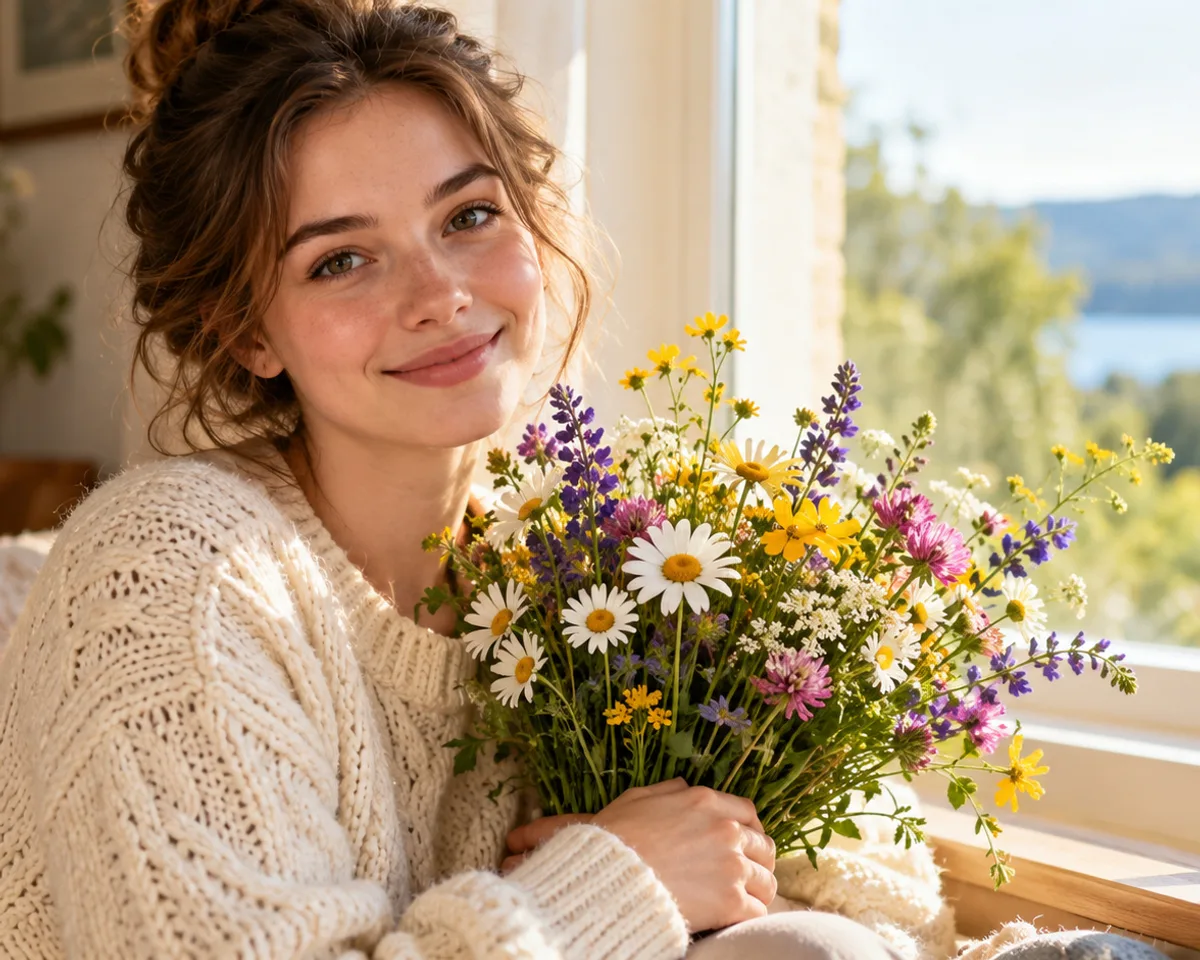
Cropping isolates your main subject and establishes the exact aspect ratio for the embroidery grid. You can adjust the framing box with drag handles or nudge it pixel by pixel using keyboard arrow keys.
Once you establish the framing, the software rescales the cropped region to your target width. For instance, setting the width to 100 squares prompts the tool to compute the proportional height automatically. A 4:3 photograph scaled to 100 squares wide generates a 100 × 75 grid, producing 7,500 total crosses. Every square cell on this grid corresponds to exactly one physical cross on your fabric.
Step 2: Palette reduction with Median Cut and k-means
Raw photographs contain thousands of distinct color shades that must be reduced to a practical thread palette. Purchasing thirty or forty skeins of floss is enjoyable, but managing two hundred skeins for a modest keepsake introduces unnecessary frustration and constant thread changes.
To build an organized palette, the converter pairs Median Cut partitioning with iterative k-means clustering. Median Cut first subdivides the RGB color space along its axes of highest variance, creating initial color groupings. Next, k-means clustering refines these centroids to capture dominant hues, subtle skin midtones, and critical shadow accents. This hybrid clustering step prevents harsh banding while keeping the total floss count strictly within your chosen preset limit.
Step 3: CIEDE2000 color matching against 489 DMC floss shades
Perceptual color matching maps each clustered image shade to the nearest physical embroidery thread. Standard RGB Euclidean distance calculations fail because human vision perceives shifts in green and yellow much more acutely than identical mathematical shifts in blue.
Our engine converts image colors into the CIELAB color space and measures color distance using the CIEDE2000 formula (ΔE00). We match each pixel against the MakeBead dmc-floss dataset, distributed under the CC BY 4.0 license, which catalogs 489 DMC six-strand cotton embroidery floss colors. When two distinct image clusters resolve to the same nearest DMC thread, the converter merges them into a single entry, keeping your shopping list compact and economical.
In our test of 11 local sample photos (portraits, pets, and images with transparency) at 100 stitches wide with 30 max colors, the mean CIEDE2000 error ranged between 1.8 and 6.8 per image. The entire computation finished in ≤47 milliseconds per image in Node. Our test also highlighted an inherent physical limitation: vivid saturated cyan blues exceed the physical dye range of standard cotton floss, where the closest available DMC thread sits at roughly ΔE00 ≈ 8.
Step 4: Symbol chart rendering and PDF export
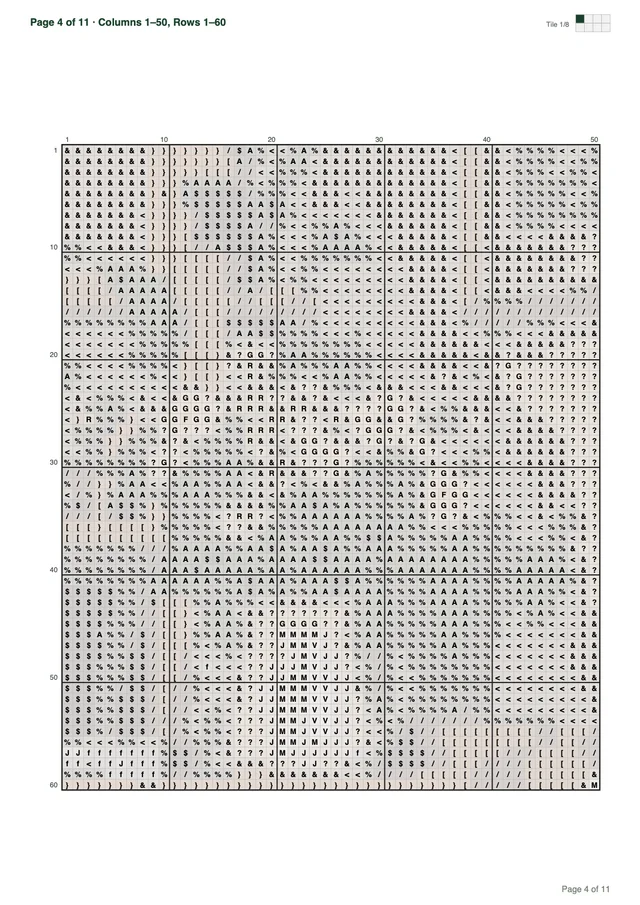
The final stage translates the colored grid into clear, legible symbols for printing or on-screen work. Every DMC thread in your project receives a distinct, high-contrast symbol that remains sharp on paper, ensuring that adjacent colors are easy to tell apart while working under household lighting.
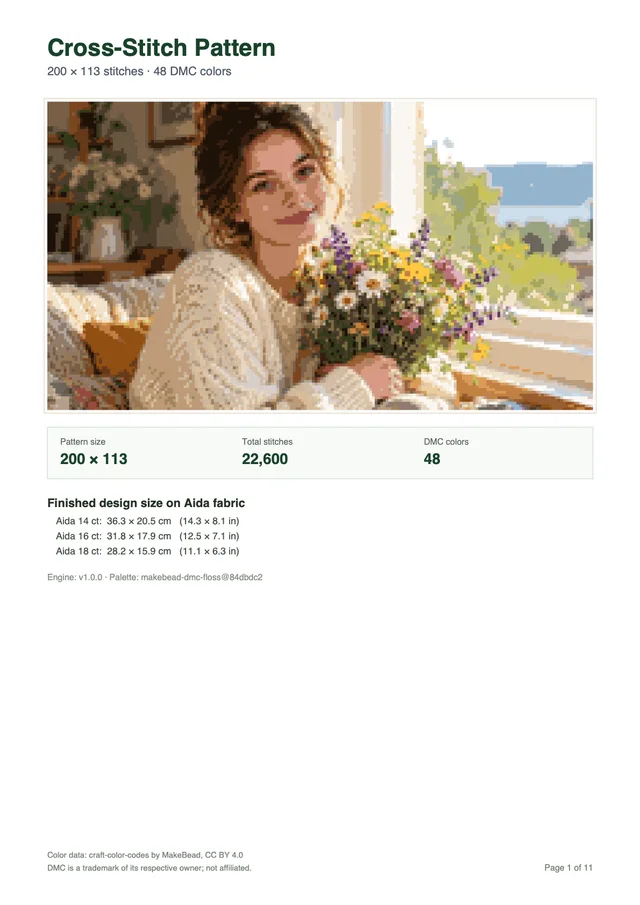
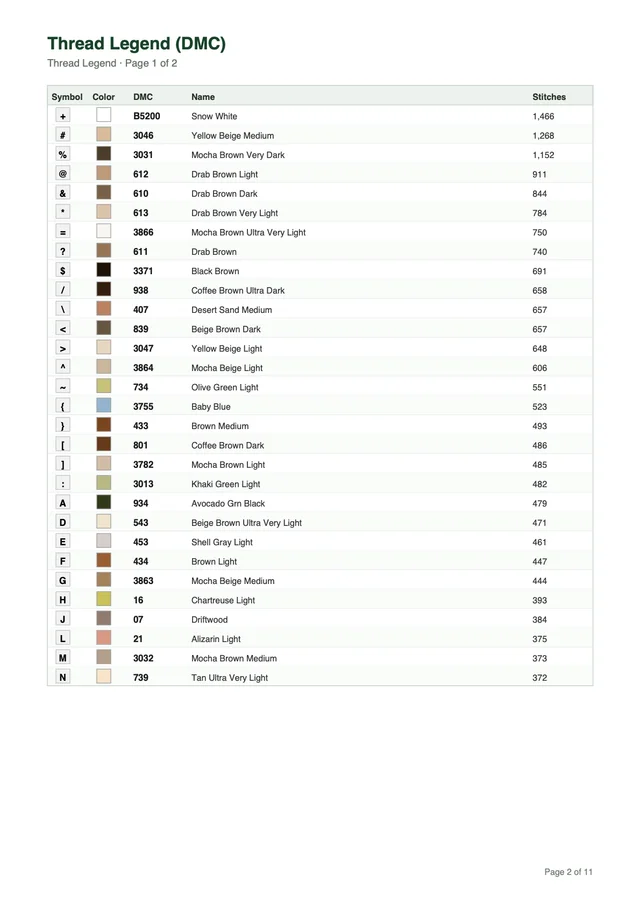
Our pattern generator produces a complete multi-page PDF document formatted for standard Letter or A4 paper. Every downloadable chart package contains an overview cover page with finished dimensions for multiple fabric counts. It also provides a floss shopping legend with DMC numbers and stitch counts, followed by tiled chart pages with bold 10-stitch grid lines, coordinate numbers, and a visual minimap. A complete sample PDF for a 200 × 113 design with 48 DMC colors spans 11 pages, providing ample room for comfortable crafting without eye strain.
Configuring dimensions, DMC floss colors, and fabric counts
Finding the right balance between detail, palette size, and crafting time ensures your embroidery project remains fun from first cross to last. Choosing the proper settings allows you to make cross stitch pattern from photo memories that fit your wall frame and your available crafting schedule.
Selecting stitch width presets
Stitch width dictates the visual resolution and physical scale of your finished embroidery design. Our converter offers instant width presets of 50, 80, 100, 150, and 200 stitches, along with a custom slider spanning 10 to 300 grid units.
A width of 50 units works well for quick weekend ornaments and bookmarks, though fine facial features will be simplified. Settings between 80 and 100 units represent the sweet spot for framed desk keepsakes, keeping facial expressions recognizable while maintaining a reasonable total of 6,000 to 10,000 crosses. Moving to 150 or 200 units captures delicate clothing textures and gentle background gradients. For ambitious heirloom projects, custom widths up to 300 units support large wall displays within our platform limit of 90,000 total grid units.
Limiting DMC floss colors to prevent confetti stitching
Confetti stitching describes isolated, single crosses scattered across a canvas that force you to stop, tie off, and re-thread constantly. Limiting your palette keeps color blocks cohesive and makes crafting significantly faster and more enjoyable.
You can select color presets of 10, 20, 30, 40, or 50 colors, or choose any custom number between 2 and 50. For graphic illustrations and logos, 10 to 15 colors produce bold, clean regions. For natural portraits and detailed landscapes, 30 to 45 colors provide smooth transitions across cheekbones, hair highlights, and sky gradients. The converter merges duplicate thread matches automatically. This step keeps you from buying extra skeins for matching shades.
Calculating finished fabric size across Aida counts
Finished project dimensions are calculated by dividing total crosses along each edge by your fabric thread count. The physical size decreases as your fabric count increases because higher counts pack more crosses into every square inch of cloth.
The table below illustrates how a 120 × 90 design scales across standard Aida fabrics, along with recommended fabric cuts including framing borders:
| Fabric count | Stitches per inch | Finished width | Finished height | Recommended fabric cut (with 3 in / 7.5 cm margins) |
|---|---|---|---|---|
| Aida 14 count | 14 | 8.57 in (21.8 cm) | 6.43 in (16.3 cm) | 14.6 × 12.5 in (37 × 32 cm) |
| Aida 16 count | 16 | 7.50 in (19.1 cm) | 5.63 in (14.3 cm) | 13.5 × 11.6 in (34 × 30 cm) |
| Aida 18 count | 18 | 6.67 in (16.9 cm) | 5.00 in (12.7 cm) | 12.7 × 11.0 in (32 × 28 cm) |
We always advise adding 2 to 3 inches (5 to 8 cm) of blank fabric margin around each edge of your design. These extra borders provide room for mounting inside an embroidery hoop during work and wrapping around foam core when framing. If you plan to use an off-the-shelf commercial frame, check standard frame sizes before cutting your cloth so you have sufficient border on all four sides.
What makes an image convert cleanly into counted cross stitch
Not every photograph turns into a clear embroidery chart without preparation. Because counted needlework renders images as discrete colored blocks, pictures with clear contrast, balanced lighting, and uncluttered backgrounds produce the cleanest results. Understanding how resolution and dynamic range affect the conversion helps you select the best snapshot before you start.
Selecting high-contrast subjects and simple backgrounds
Clear focal subjects with distinct edge contrast translate smoothly into readable charts. When a subject shares similar midtones with its background, the clustering algorithm may blur boundaries or introduce speckled noise into the chart.
To prepare your picture for cross stitch pattern conversion, crop tightly around the focal point so your subject fills most of the frame. Crop out busy backgrounds, distant foliage, or distracting objects, or pick a photo with a plain background. Soft directional lighting creates natural depth, whereas harsh on-camera flash washes out delicate facial planes. Finally, avoid blurry or noisy snapshots, as low-light sensor grain translates directly into scattered single-color crosses that slow down your crafting.
Handling challenging lighting and saturated colors
Deep shadows and neon highlights require thoughtful adjustment before generating your final PDF pattern. The DMC floss dataset we use contains 489 colors, which cannot reproduce high-dynamic-range digital displays or synthetic neon glows.
If your photograph contains deep shadows, consider lifting dark levels slightly in your camera app so the converter can identify subtle clothing folds and hair texture. If your image features vivid sky blues, remember our test finding that saturated cyan threads sit at roughly ΔE00 ≈ 8 from digital sRGB primaries. The preview screen displays the exact matched thread colors, allowing you to inspect every hue before you commit to printing. You can zoom in to verify how high-contrast edges look in symbol mode before spending a credit.
Comparing manual pattern design and automated conversion
Crafters often wonder whether they should draft a chart by hand, commission an independent artist, or use our automated web application. Hand-drawn charts allow custom backstitching and specialty lettering, but drafting a photorealistic piece on graph paper can take weeks of tedious drafting.
Commissioning a designer on craft marketplaces brings custom art, but it usually costs more, and you wait for the designer’s turnaround. Our web converter bridges this gap: you get instant interactive control over dimensions and palette size, immediate browser previews, and printable multi-page charts in seconds. Every generated chart provides a clear floss list, making it simple to kit up your supplies at your local craft store or online thread supplier.
If your project focuses primarily on people, review our dedicated guide for people and portrait cross stitch patterns. For four-legged family members, see our companion resource for pet portrait cross stitch patterns. When you want to explore design trade-offs in depth, read about our custom cross stitch pattern maker workflow or consult our comprehensive step-by-step cross stitch pattern guide. A tight crop belongs on the small cross stitch pattern page. A photo that should fill every square is covered under full coverage cross stitch pattern.
Whenever you feel ready to convert picture to cross stitch chart designs, scroll up to the interactive pattern tool above or create a free account to begin stitching your memories.