How handwriting to cross stitch works from a photo
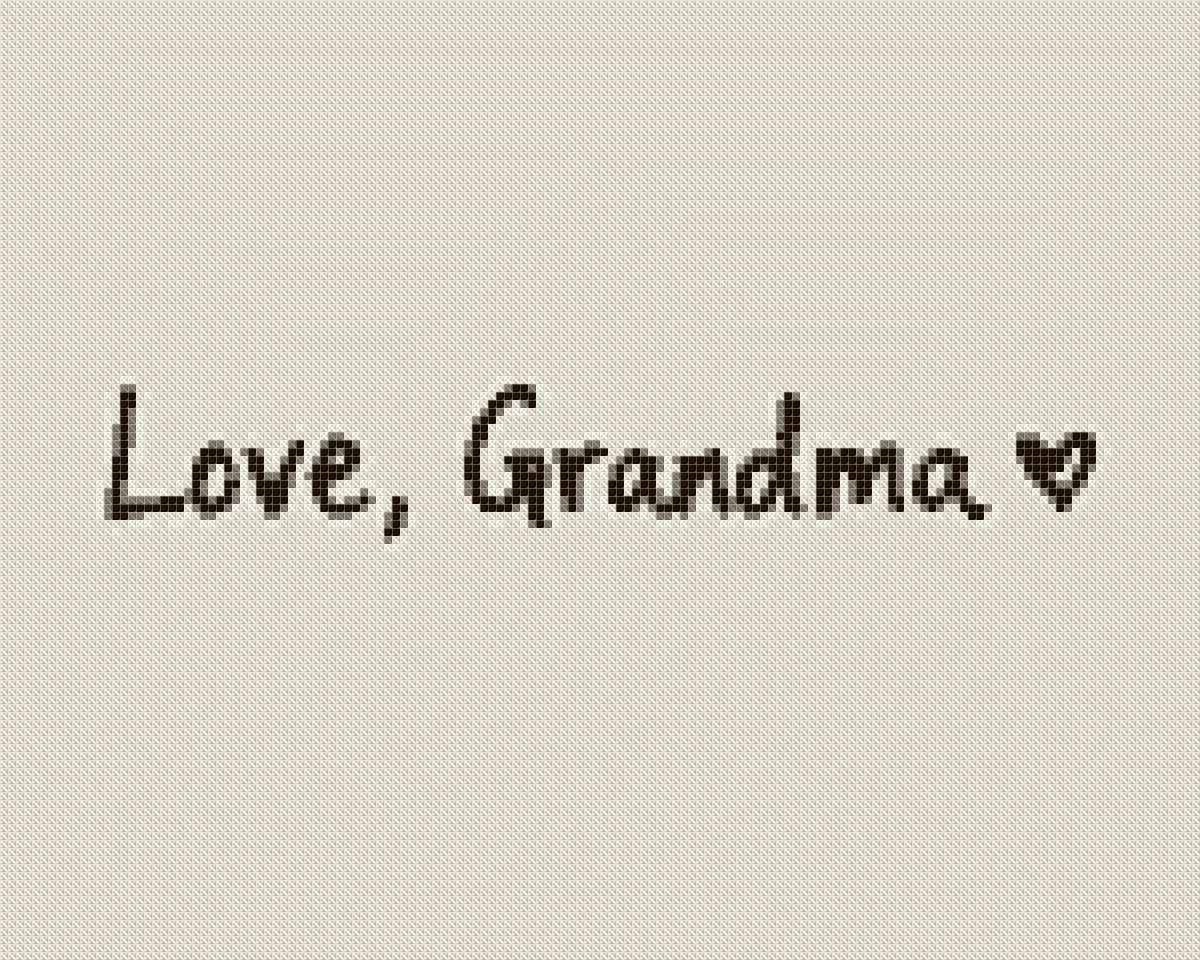
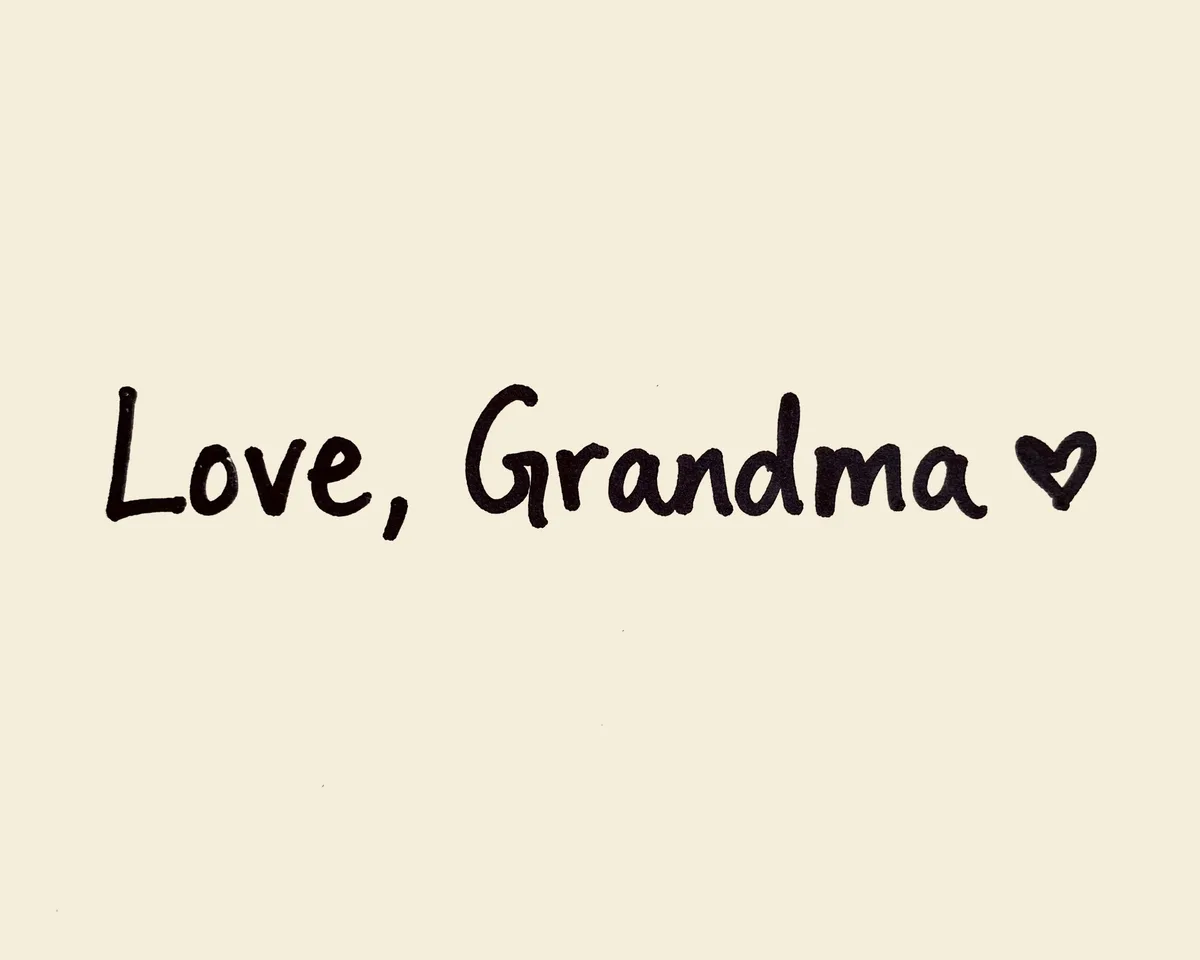
A handwriting to cross stitch chart converts photo pixels of dark ink into counted full crosses. The Cross Stitch pattern maker matches writing to DMC floss without fonts.
You can preview your pattern directly in the browser and sign up for an account to save the chart. The pattern generator handles your picture locally on your device without extra image software.
Turning written text into counted craft work begins with a clean raster image. The software divides your photo into an orderly grid where each tiny pixel becomes a single thread square. Instead of reading script as digital fonts, the engine reads real color shades across the paper.
You can upload image files in JPEG, PNG, or WebP format up to 20 MB and 8,000 pixels per side. The preview runs fast in your browser because processing happens on your own computer. That local setup lets you adjust crop borders and canvas sizes without waiting for file queues.
The generator does not rely on computer handwriting fonts or smooth script tools. Old craft tools often swap in fake computer fonts that strip away personal penmanship quirks. Our conversion engine preserves natural slant, uneven pressure, and ink flow just as written by hand.
Color clustering groups paper tones into fabric and ink into embroidery floss. The system pairs Median Cut grouping with k-means clustering to sort pixel values into clear groups. This math ensures that faint ink variations merge into solid thread blocks rather than stray dots.
The software maps image tones to real threads using CIELAB and CIEDE2000 color formulas. It compares colors against 489 DMC shades in the MakeBead dmc-floss dataset under the CC BY 4.0 license. In our benchmark, 11 local photos at 100 stitches wide and 30 max colors were tested with a mean CIEDE2000 between 1.8 and 6.8 in at most 47 ms in Node.
Bright screen colors sometimes sit outside the reach of dyed cotton floss. Saturated cyan can sit about 8 Delta E away from vivid screen blue. Even with these textile bounds, handwritten ink maps cleanly to crisp dark floss on woven cloth.
Stitchers can choose standard width presets of 50, 80, 100, 150, or 200 stitches. You can also pick custom widths from 10 to 300 stitches to match your target frame size. The system caps overall chart volume at 90,000 stitches to keep projects fun and simple to sew.
Adjusting the grid dimensions gives you control over the size of your stitched piece. A short card greeting needs fewer total stitches than a full framed recipe. You can test several width settings in the live browser preview until your text looks sharp and balanced.
Crafters can study our tutorial on how to make a cross stitch pattern for basic grid concepts. If you want to compare personal handwriting with standard lettering, check our cross stitch quote pattern options for lettered sayings. Both guides provide clear symbol charts designed for easy stitching.
Signature, recipe card, and the contrast you need
Crisp conversion requires dark ink on flat paper under shadow-free daylight. Dark ink on white cards converts cleanly, while faint pencil marks merge into background cloth.
Personal signatures on cards and letters carry deep family meaning. Broad felt pens, dark gel pens, and fountain pens give the boldest stroke weight for chart conversion. Thin ballpoint pens also work if pressed firmly, but thin ink lines need wider stitch grids to stay clear.
Family recipe cards represent another favorite subject for stitchers. Old cards often feature yellowed paper, butter spots, and worn blue ink. Because our generator evaluates real pixel colors, dark grease spots or blue ledger lines can turn into unwanted floss stitches.
Graphite pencil marks rarely make clean embroidery charts. Pencil graphite reflects room light and creates soft, hazy gray borders along letter strokes. When k-means clustering groups color shades, faint gray marks blend into the paper, causing letters to break apart.
Room lighting plays a huge part during image capture. A single desk lamp casts hard shadows across paper folds, creating gray tones across the sheet. Taking your photo near a bright window provides soft daylight that lights the paper evenly from corner to corner.
- Lay paper flat on a horizontal table near an indirect window to avoid direct glare.
- Position your phone camera directly above the sheet to avoid angular distortion.
- Crop borders tightly around the ink lines before loading the file to our website.
- Erase stray graphite smudges, grease spots, and ruled margins when possible.
- Avoid low-light photography that causes camera sensors to generate digital noise.
Cropping tightly around the written words maximizes pattern detail. If you shoot a whole page with only three lines of text, blank margins waste most of your stitch count. Trimming empty space focuses all available grid squares directly on your written words.
Quick phone camera edits can lift your conversion results. Bumping contrast slightly in your phone photo editor turns dull paper bright white and deepens dark ink. This fast prep step builds crisp borders between writing and cloth before you start.
Handling old lined index cards takes extra care during preparation. Many vintage recipe cards carry bold red top lines and light blue guide rules. If those printed lines are dark, they can turn into rows of colored crosses across your finished cloth.
You can dodge ruled lines by picking text on plain sections or adjusting color levels on your phone. Setting your photo to black and white while lifting highlights washes out faint blue lines completely. This easy step keeps black ink crisp and stops unwanted grid marks.
Different ink shades map into unique embroidery threads. Deep black fountain pen ink maps cleanly to DMC 310, while old sepia ink maps to warm brown tones. Checking these color groups in your browser preview helps you choose between antique ink shades and solid black thread.
Makers often pair handwritten notes with decorative needlework elements. You can pair a signature with decorative monograms by exploring our monogram cross stitch pattern resources. For projects joining photos with handwriting, check our custom cross stitch pattern options for broader design ideas.
Why the chart is full crosses, not backstitch
The chart uses counted full crosses because the software converts image pixels directly into square grid cells. It does not trace vector paths or produce fine backstitch outlines.
Many crafters expect thin backstitch lines when charting cursive writing. Store embroidery kits often use backstitch for thin cursive lines to copy pen strokes. But turning photos into backstitch requires complex vector line tracing that image converters cannot reliably build.
A counted cross stitch grid treats your photo as a set of distinct colored squares. Backstitch relies on vector lines drawn between grid corners along fabric threads. Calculating vector paths from raw camera pixels often builds bumpy, uneven stitch lines that confuse stitchers.
Full cross stitches provide a bold and classic embroidery look. Each cross adds tactile thread texture and rich solid color to your fabric. Rather than building a thin ink line, full crosses give historic handwriting the sturdy feel of antique needlework samplers.
Letter size directly sets whether cursive script remains readable. A lowercase letter must measure roughly 8 stitches tall to keep open centers. If letters measure only 3 or 4 stitches tall, inner loops in letters like ‘e’, ‘a’, and ‘o’ blob together into solid squares.
Tall ascenders and deep descenders need ample vertical room across your cloth. Letters like ‘f’, ‘h’, ‘k’, and ‘l’ climb upward, while ‘g’, ‘j’, ‘p’, ‘q’, and ‘y’ hang below the baseline. Giving letters enough height keeps loops open rather than blending into nearby letters.
The pattern generator leaves out fractional stitches, French knots, and specialty stitches. Every square on the chart represents one regular counted cross worked over fabric threads. This simple layout lets you enjoy calm, rhythmic sewing without splitting threads or swapping needles.
Holding steady thread tension is key when working full cross lettering. Even tension keeps each cross uniform in size, stopping uneven gaps along slim letter stems. Stitching with two strands of cotton floss on 14-count Aida gives rich fabric coverage while keeping letter edges neat.
Old samplers have showcased counted alphabet lettering for hundreds of years. Antique needlework samplers used square alphabets to record family names, dates, and poems. Using full crosses links your modern handwriting project to this long craft history.
Stitchers who enjoy backstitch can blend both styles on their fabric. You can follow our full-cross chart for the main text, then stitch freehand backstitch loops around the outer edges. That hybrid approach pairs the exact layout of our chart with your own needlework touches.
Working with full crosses also simplifies cloth choice and thread prep. Unlike fine surface embroidery that needs dense linen, full crosses look great on standard Aida cloth. Crafters who like dense stitching can also read our full coverage cross stitch pattern guide for larger whole-cloth projects.
Width, colors, and the PDF
Setting stitch width from 100 to 200 stitches and color count from 2 to 6 shades keeps writing readable. The resulting PDF includes multi-page symbol charts and floss legends.
Handwriting charts need only a small color palette for top clarity. The pattern engine provides color presets of 10, 20, 30, 40, and 50 shades, alongside custom picks from 2 to 50. Setting your custom count to 2 or 3 colors cleanly divides dark ink from light paper.
Picking 150 to 300 embroidery colors is not supported and ruins handwritten text. Huge palettes cause confetti stitches, forcing you to swap threads for tiny color shifts. Keeping your palette small maps the writing to DMC 310 black and leaves background cloth plain and fast to sew.
The conversion code leaves out dithering tools and confetti filters on purpose. Dithering scatters random dots across flat areas to mimic soft gradients, which blurs crisp letter edges. Our mix of Median Cut and k-means clustering keeps text solid, creating clean blocks of single-color floss.
Fabric dimensions scale directly from stitch count and fabric density. To find fabric size in inches, divide the stitch count across each axis by your fabric count. On 14-count Aida, 50 stitches measure 3.6 inches, 60 stitches measure 4.3 inches, 100 stitches measure 7.1 inches, 200 stitches measure 14.3 inches, and 300 stitches measure 21.4 inches. Always add 2 to 3 inches of spare fabric per side for framing.
| Target Letter Height | Width Per Letter With Gap | Total Width for 12 Letters | 14-Count Aida Width | Recommended Margin Per Side |
|---|---|---|---|---|
| 6 stitches tall | 8 stitches wide | 96 stitches wide | 6.9 inches | 2.5 inches |
| 8 stitches tall | 10 stitches wide | 120 stitches wide | 8.6 inches | 2.5 inches |
| 10 stitches tall | 12 stitches wide | 144 stitches wide | 10.3 inches | 3.0 inches |
| 12 stitches tall | 15 stitches wide | 180 stitches wide | 12.9 inches | 3.0 inches |
These figures provide a planning estimate rather than a font metric from the maker. Because our pattern generator converts your actual photo instead of generating typed letters, natural cursive handwriting width varies based on pen slant and character spacing. Checking your image in the browser preview confirms exact stitch counts before you begin.
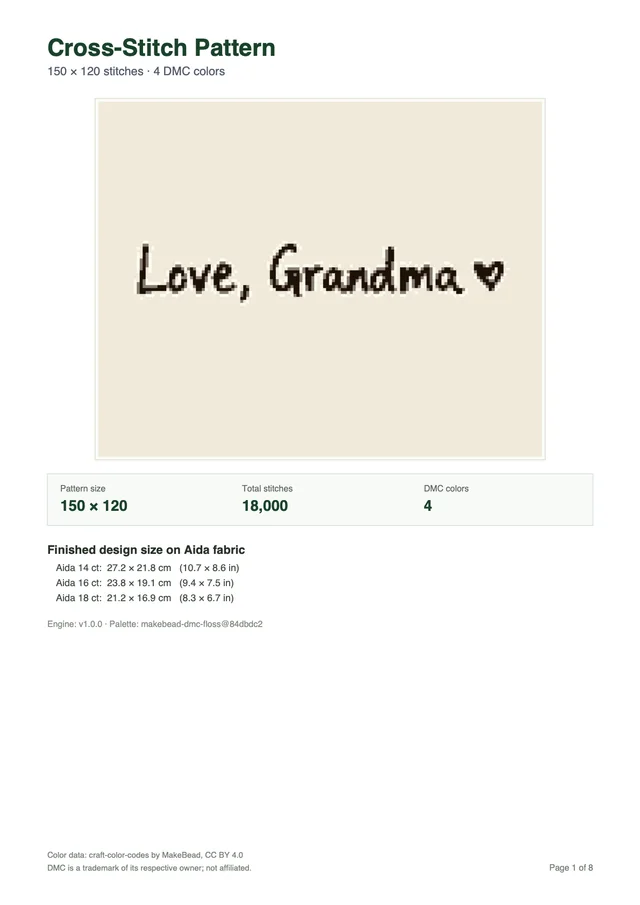
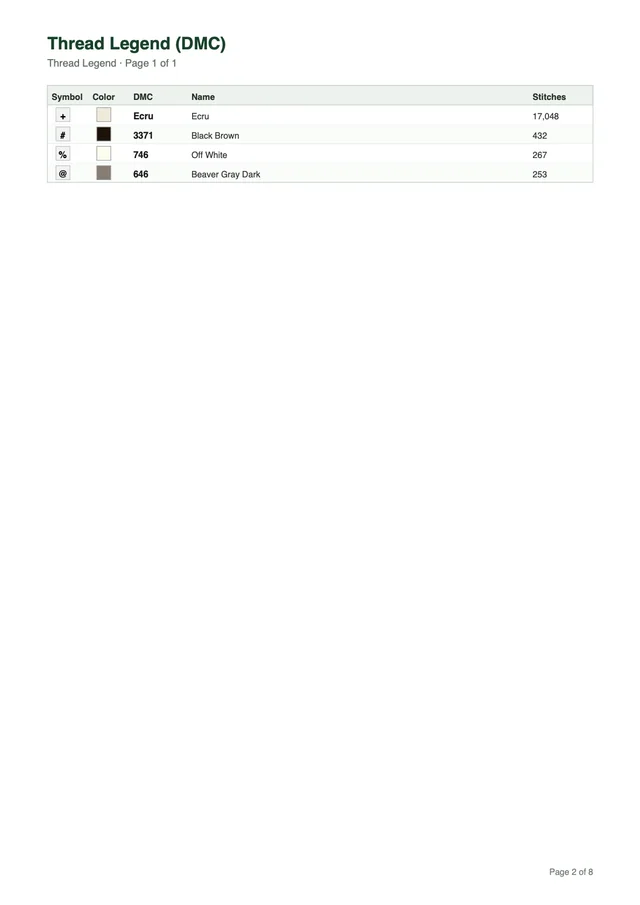
The generated PDF packages your design into a print-ready file sized for Letter or A4 paper. The front page shows a full pattern preview, total stitch count, and cloth dimensions for popular Aida counts. Following the cover, a high-contrast thread legend lists each symbol next to its DMC floss code and stitch count.
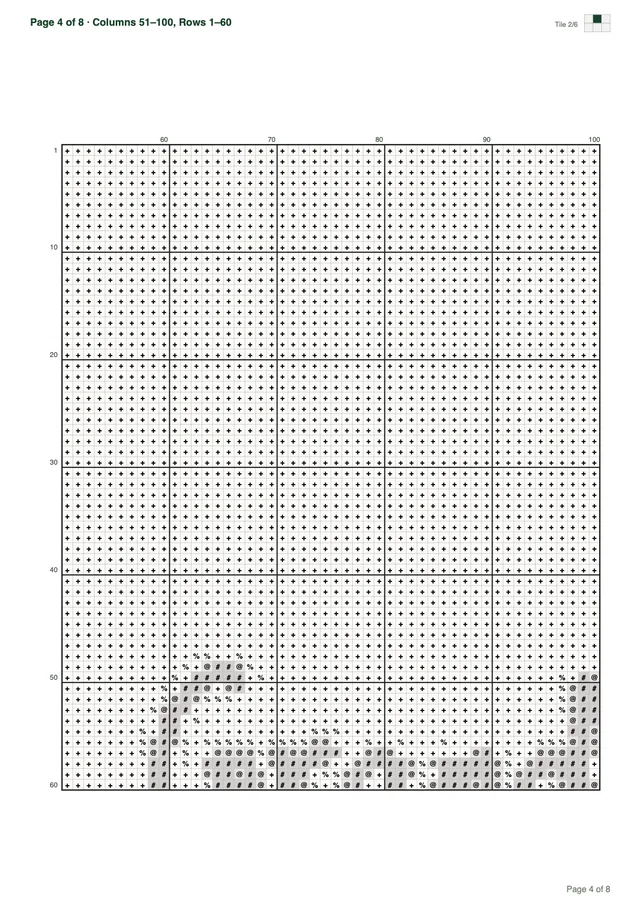
To make stitching comfortable, the chart divides large projects across multiple printable pages. Each chart page displays a grid tile measuring 50 stitches wide by 60 stitches tall. Bold grid lines appear every 10 stitches next to outer numbers, while a corner minimap shows your spot on the full design.
Our tiled layout stops symbol mix-ups across page borders. A sample chart measuring 150 by 120 stitches with 4 colors spans 8 neat printable pages. Crisp vector symbols ensure your pattern stays sharp even when printed on home desktop inkjet printers.
Making an account with Google gives you 3 free credits to begin your project. Creating a new printable PDF pattern costs 1 credit, while repeat downloads of that same PDF cost zero credits. The live browser preview remains completely free so you can adjust sizes until your layout looks great.
Creating a custom handwriting to cross stitch keepsake turns family writing into physical needlework you can frame. The Cross Stitch pattern maker produces crisp DMC charts directly from your photographed words. Set your stitch width, inspect the symbol grid in the browser, and download your printable multi-page PDF.