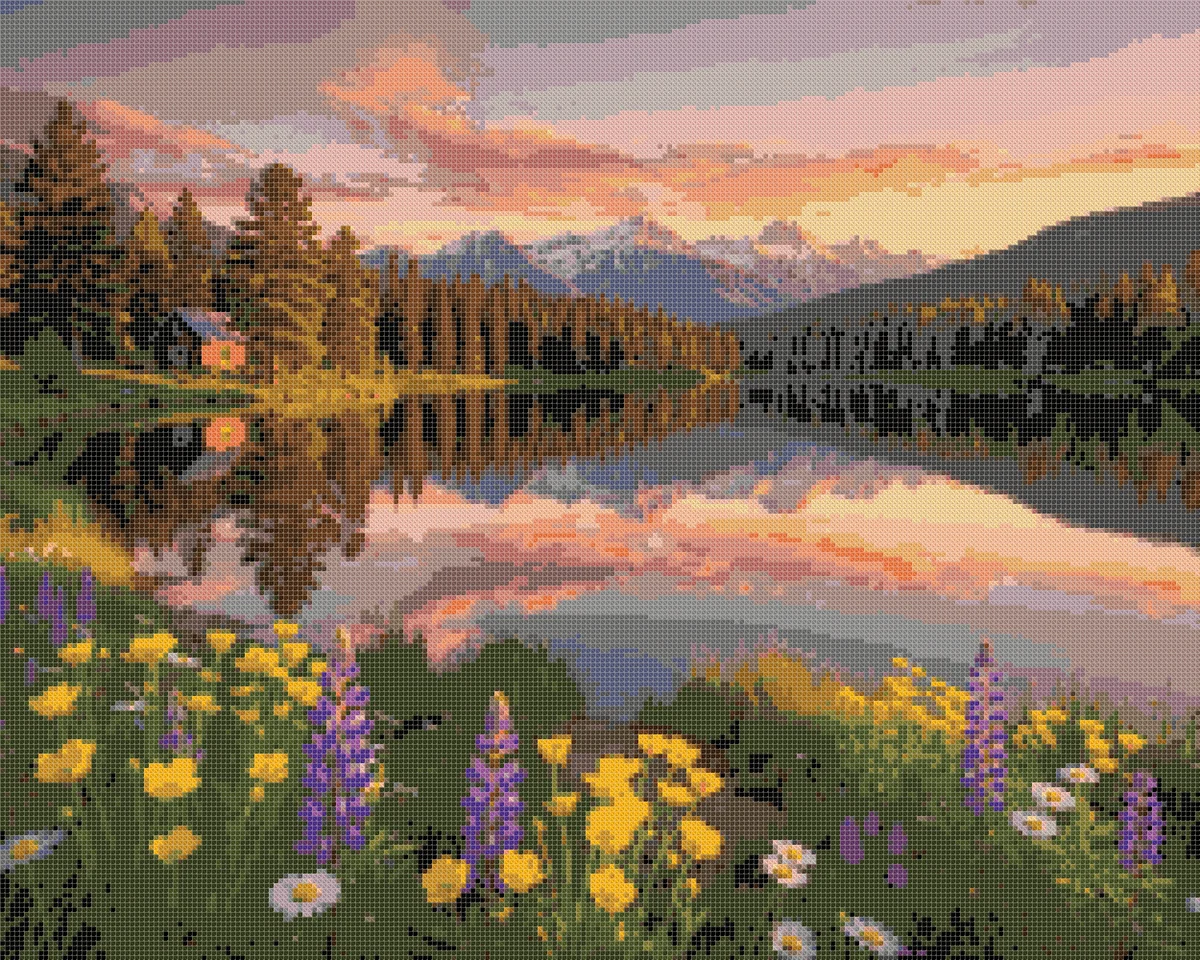
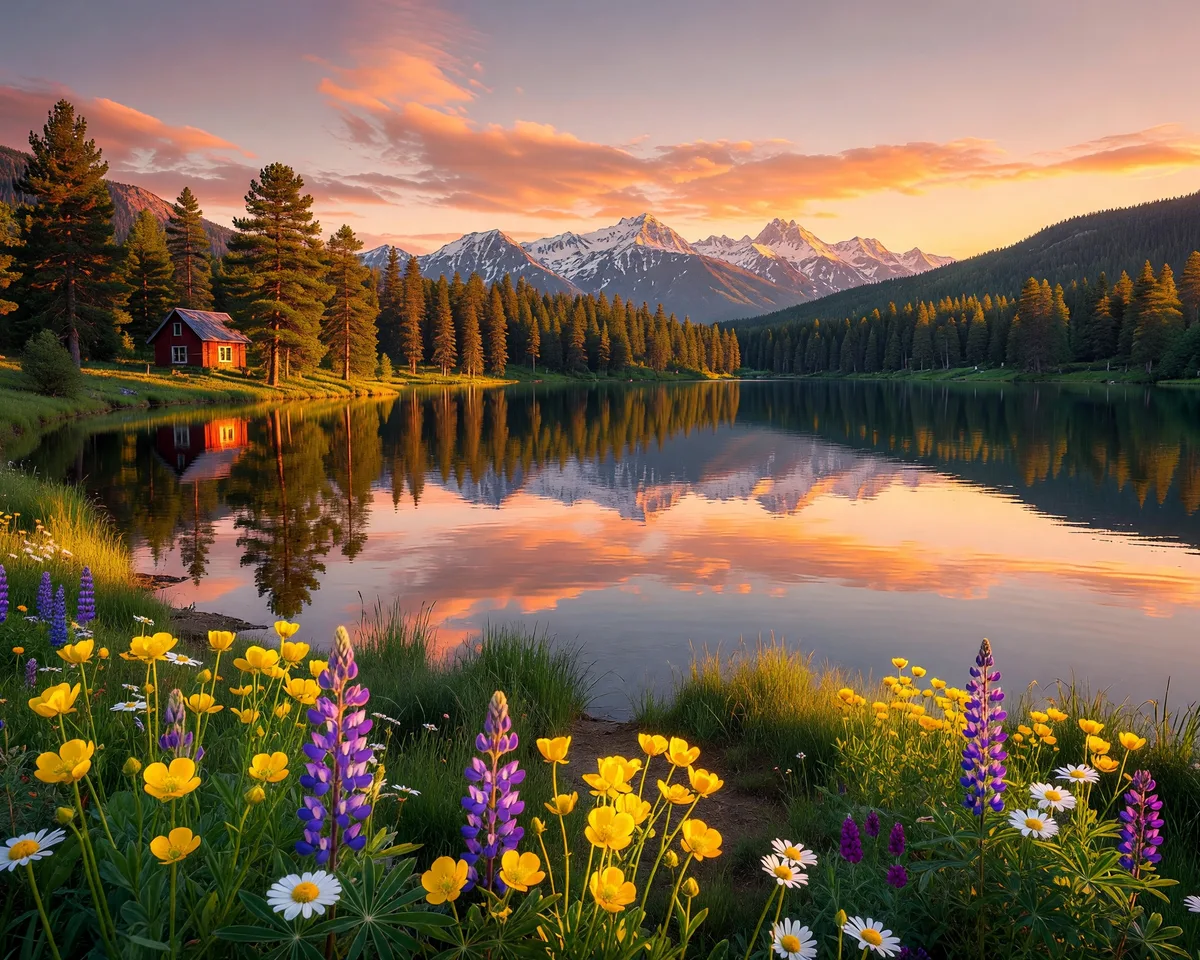
What a full coverage cross stitch pattern includes
A full coverage cross stitch pattern fills every grid square with thread from edge to edge. It translates each photo pixel into counted stitches without leaving bare cloth.
Stitchers often look for projects that cover the underlying Aida fabric completely. When you sign up for an account on our website, you can transform photos into charts where every cross is accounted for. The Cross Stitch pattern maker preserves all background areas from your original image.
Traditional embroidery samplers often feature isolated motifs floating on plain woven fabric. In contrast, full coverage needlework treats the entire cloth as a solid canvas. Every square holds an individual cross stitch, building rich depth across the whole composition. This technique creates a finished piece resembling an oil painting or photographic print.
Our conversion process maps each pixel from your source image directly to a coordinate on the grid. If your uploaded picture contains scenery behind a subject, those background tones become stitches. The software does not erase walls, skies, foliage, or furniture. You receive a complete grid where foreground and background merge into one unified design.
The pattern generator focuses on counted full crosses. It does not generate backstitch lines, French knots, or fractional quarter stitches. It also does not type custom text, select decorative fonts, or draw floral border frames around subjects. Stitchers who want lettering can review our guide on how to make a cross stitch pattern to plan custom borders.
Many crafters associate full coverage needlework with Heaven and Earth Designs. Heaven and Earth Designs, often called HAED, is a commercial brand associated with large full-coverage charts. Our maker is not affiliated with HAED, and it does not produce HAED files. Commercial charts from that brand often feature massive dimensions and complex confetti blends.
Our software stops at 50 DMC colors, 300 stitches wide, and 90,000 total stitches. A design measuring 200 stitches wide by 300 stitches tall contains 60,000 stitches and is fully allowed. A project measuring 300 stitches wide by 300 stitches tall reaches 90,000 stitches and represents our hard cap. These parameters provide detailed photo coverage without creating unmanageable charts.
Keeping stitches uniform across tens of thousands of squares creates a smooth texture. Because every cell contains a full cross, thread tension remains consistent across the whole fabric. You never have to worry about puckering caused by sudden transitions between dense motifs and bare linen. The finished needlework feels sturdy, heavy, and satisfying to touch.
Selecting the right cross stitch needle protects your hands during extended projects. Size 24 cross stitch needles pair naturally with 14-count Aida, while size 26 needles suit tighter 18-count weaves. Blunt needle points slide between fabric threads cleanly without splitting nearby cotton plies. Smooth eye channels minimize thread friction across hours of repetitive passes.
Crafters who want smaller accent pieces can explore custom cross stitch pattern options with narrower stitch counts. For full coverage fans, however, filling every square remains the ultimate goal. The process demands patient stitching, but the resulting wall art looks substantial and polished. Every hour of work adds visible density to the emerging picture.
Where 50 colors and 300 stitches stop
Our pattern limits stop at 50 DMC colors and 300 stitches wide, capping designs at 90,000 total stitches. These boundaries balance photorealistic depth against practical stitching speed.
Beginner stitchers sometimes assume that more thread colors always create a superior chart. In practice, charts with 150 to 200 colors create severe confetti clutter. Confetti stitching forces you to cut and park thread after placing only one or two crosses. This constant stopping slows your progress and leaves bulky thread knots across the back of the work.
The Cross Stitch pattern maker offers preset palettes of 10, 20, 30, 40, and 50 DMC colors. You can also type any custom palette number between 2 and 50. Capping colors at 50 gives you enough shades for smooth gradients while keeping skein management manageable. You spend more time stitching and less time hunting through storage bobbins.
Our conversion engine calculates color variance using the CIELAB color space and CIEDE2000 formulas. It compares digital pixels against the 489 DMC shades in the MakeBead dmc-floss dataset, licensed under CC BY 4.0. The algorithm groups nearby pixels using Median Cut and k-means clustering to form coherent color blocks.
We tested 11 local photos at 100 stitches wide and 30 max colors, recording a mean CIEDE2000 color difference of 1.8 to 6.8. The calculation required at most 47 milliseconds in Node. Certain saturated screen tones, such as bright cyan, can sit about 8 Delta E from physical embroidery floss. Physical cotton threads absorb and reflect ambient room light differently than backlit computer monitors.
Solid black areas map directly to DMC 310, providing deep shadow contrast. The clustering algorithm eliminates the need for manual color adjustments or artificial smoothing. Because the system omits dithering toggles and confetti erasers, the resulting symbols represent honest color clusters. You get dependable shading without scattered stray stitches across large backgrounds.
Physical fabric dimensions scale directly with your grid size and fabric count. To find the stitched area in inches, divide total stitches across an axis by your fabric count. A design measuring 50 stitches across 14-count Aida spans 3.6 inches. Increasing the width to 60 stitches yields 4.3 inches on 14-count cloth.
Larger charts require bigger pieces of fabric and dedicated framing plans. A grid spanning 100 stitches measures 7.1 inches wide on 14-count Aida. Expanding the width to 200 stitches yields 14.3 inches of embroidery. At our maximum width of 300 stitches, the stitched area measures 21.4 inches across.
You must always add 2 to 3 inches of extra fabric margin per side. That additional allowance provides the grip needed for scroll frames, Q-snaps, or wooden hoops. It also ensures professional picture framers have enough cloth to lace the canvas over acid-free backing boards. Before starting, check our guide to convert a photo to cross stitch pattern for fabric tips.
Organizing embroidery floss ahead of time prevents tangles and wasted stitching hours. Wind each skein onto labeled plastic bobbins marked with DMC identification numbers. Storing bobbins in numerical order inside divided craft boxes keeps your working space tidy. When a color appears frequently across the chart, pull two yards of thread at a time to reduce knotting.
Planning your thread requirements before making the first stitch prevents unexpected shortages. Each skein of six-strand DMC cotton contains eight meters of thread. Working two strands on 14-count fabric allows one skein to cover approximately 1,800 to 2,000 stitches. Knowing your color counts helps you buy necessary supplies in single dye lots.
How to prepare a photo so the background stays in
To keep your background intact, crop your image so the scene fills the frame completely. Balanced lighting prevents dark backgrounds from collapsing into single black patches.
Our browser tool accepts digital photo files in JPEG, PNG, and WebP formats. Files may measure up to 20 MB in total size and up to 8,000 pixels per side. The preview runs directly in your browser, so you can evaluate cropping adjustments before generating any files. You can see how colors group together across both subject and surroundings.
Because the system does not include automated subject isolation, every visual element remains in the grid. If you take a picture in front of a busy bookcase, every book spine converts into stitches. This behavior is ideal when you want to capture meaningful domestic settings, gardens, or architecture. You control the final composition entirely through your initial photograph crop.
Lighting plays a critical role in preserving subtle textures in background walls and drapery. Direct camera flashes wash out foreground faces while leaving backgrounds completely dark. That sudden drop in exposure turns wallpaper or outdoor scenery into flat patches of DMC 310 black. Soft, diffuse daylight illuminates the entire depth of the room evenly.
Careful image framing ensures every corner of your finished needlework looks intentional. When photographing artwork or personal scenes for full coverage embroidery, observe these practical preparation habits:
- Crop away unnecessary empty space so meaningful background details touch the edges of the frame.
- Choose natural morning or afternoon daylight to illuminate both the primary subject and room surroundings.
- Check the image at full zoom to confirm that background textures remain sharp and free of motion blur.
- Save your image at high resolution without heavy social media compression that smears delicate color gradients.
Fine art pictures convert beautifully into full coverage needlework because classical painters created balanced compositions. You can turn museum masterpieces into famous painting cross stitch charts by uploading high-resolution public domain museum scans. Historical paintings feature rich background glazes, dramatic skies, and textured drapery that translate into rewarding stitching projects.
If your photo contains dark shadows, consider lifting shadow exposure slightly in your phone editor. Raising shadows by ten or fifteen percent reveals midtone hues hidden in dark corners. That extra tonal separation allows the k-means clustering tool to assign distinct DMC shades instead of single dark blocks. The resulting background displays believable depth and nuanced atmosphere.
Keep in mind that digital image sharpening can create unwanted artifacts along high-contrast borders. Artificial edge sharpening produces harsh white halos between dark objects and bright walls. The pattern converter interprets those halo pixels as pale beige or white stitches. Uploading an unedited, naturally sharp photo ensures clean thread boundaries across the grid.
Outdoor landscape photography requires attention to atmospheric haze and bright sky areas. Distant mountains or cloud banks often contain pale blue and lavender hues that blend smoothly. If the sky is overexposed to pure white, the pattern maker uses single white thread blocks. Choosing photos with gentle cloud texture provides varied stitches that keep the project engaging.
Choosing the right aspect ratio before uploading saves you from unexpected cropping surprises. Standard phone photos use 4:3 or 16:9 proportions, while square formats produce balanced symmetrical grids. A 4:3 ratio translates cleanly into a 200 by 150 stitch layout. Selecting your crop with care guarantees that beloved background scenery stays visible on cloth.
How the multi-page PDF is tiled
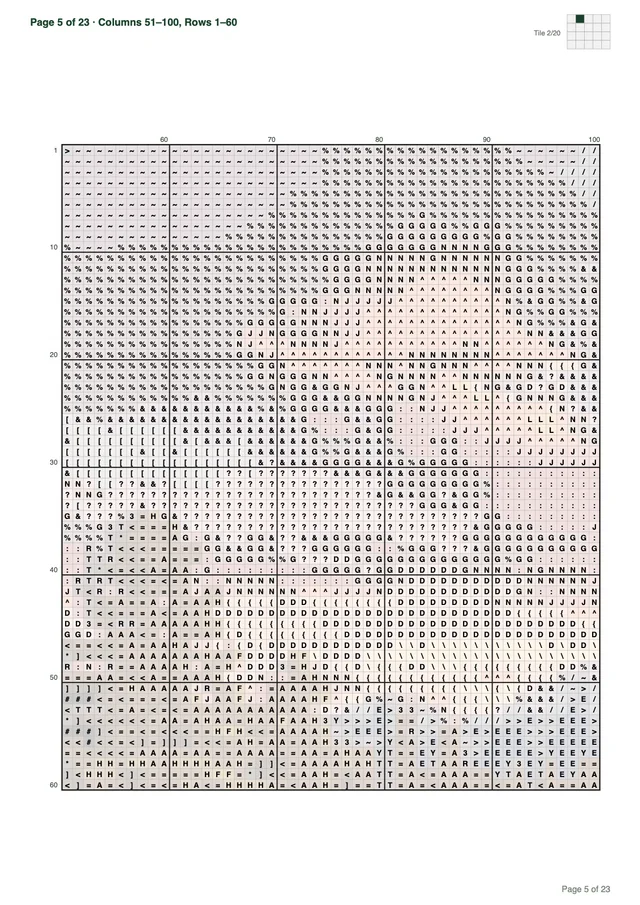
The pattern maker tiles large designs across multi-page PDFs using 50 by 60 stitch blocks. Every chart page includes bold grid lines, coordinate numbers, and an overview minimap.
Printing a 60,000 or 90,000 stitch chart on a single piece of paper would make symbols unreadable. To ensure comfortable reading, our generator divides your project into standardized grid tiles. Each chart page displays exactly 50 stitches across by 60 stitches down. This sizing keeps symbol glyphs sharp and legible under normal craft lamp lighting.
Every chart tile features bold grid lines placed every 10 stitches horizontally and vertically. These bold lines align with standard ten-by-ten fabric gridding techniques used by advanced stitchers. Edge coordinates along the top and sides display continuous stitch counts from the overall pattern. A miniature overview map in the corner highlights where the current page sits within the project.
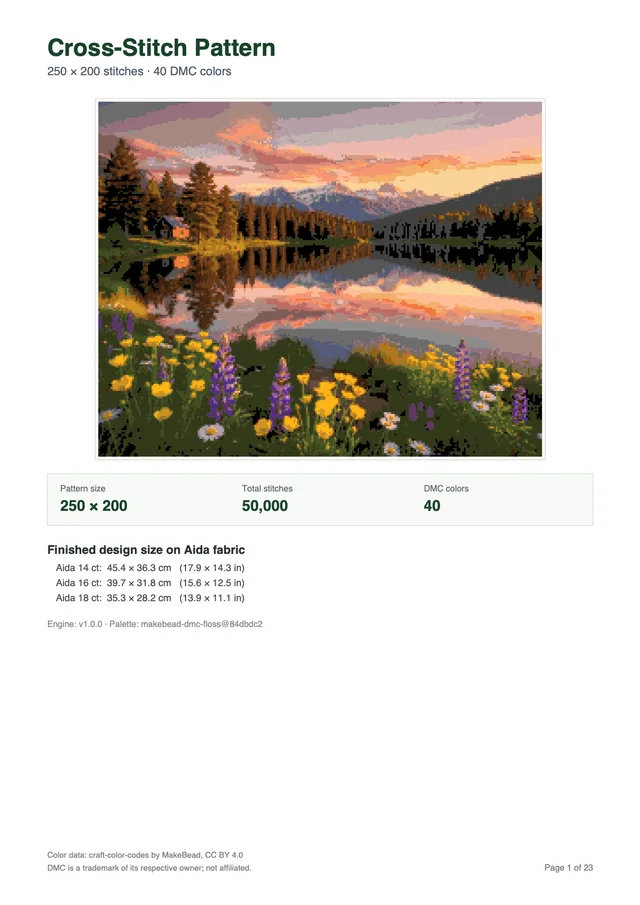
The downloaded PDF document arrives formatted for standard Letter or A4 paper. It begins with a color cover page showing the complete image preview and project dimensions. The cover summarizes total stitch count, thread palette size, and finished dimensions across 14, 16, and 18 count Aida. Thread legend pages follow immediately behind the cover page.
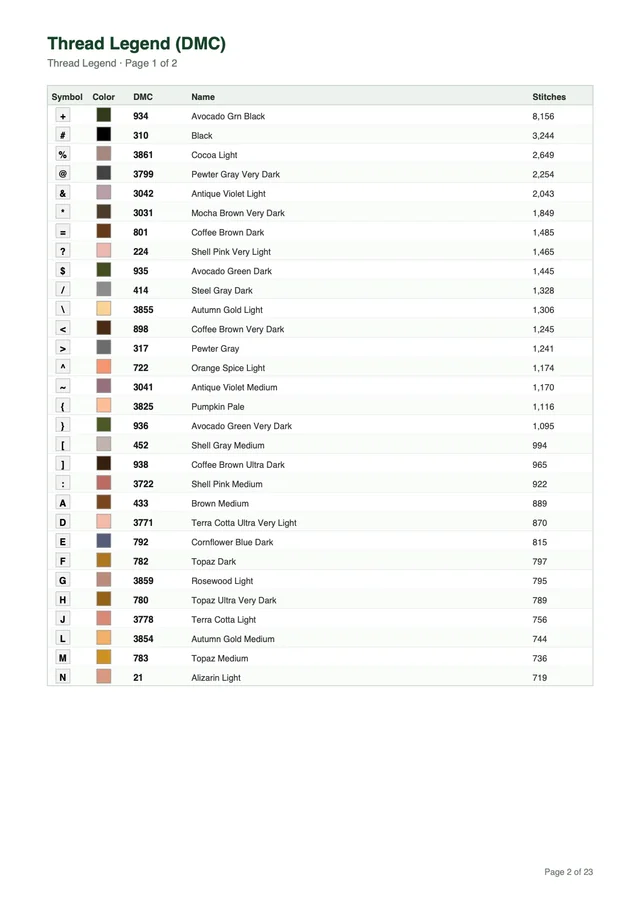
The thread legend lists each symbol glyph alongside its corresponding DMC color code and color name. It also reports the exact number of stitches required for each thread shade. Legend pages accommodate 30 color rows per page. Designs utilizing 10 to 30 colors require a single legend page, while palettes using 31 to 50 colors require 2 legend pages.
Understanding your total page count helps you prepare printing paper and chart binders before beginning. The table below outlines tile arrangements and page counts across various design dimensions:
| Design Size (Stitches) | Total Stitches | Tile Grid (Columns × Rows) | Chart Symbol Pages | Cover and Legend Pages | Total PDF Pages (50 Colors) |
|---|---|---|---|---|---|
| 150 by 200 | 30,000 | 3 by 4 | 12 | 3 | 15 |
| 200 by 113 | 22,600 | 4 by 2 | 8 | 3 | 11 |
| 200 by 250 | 50,000 | 4 by 5 | 20 | 3 | 23 |
| 300 by 300 | 90,000 | 6 by 5 | 30 | 3 | 33 |
Stitchers typically assemble multi-page patterns by working one tile block at a time. Starting from the top-left corner allows you to move row by row across the canvas. As you complete each 50 by 60 block, the minimap helps you verify adjoining edge stitches. You can mark finished stitches using a physical highlighter on paper or a digital PDF markup application on a tablet.
Two primary techniques help crafters navigate large multi-page charts without confusion. The cross-country method involves stitching all instances of a single color within one tile before changing threads. Alternatively, the parking method keeps active needles threaded along row margins. Both workflows benefit from the consistent 10-stitch bold grid lines printed across each tile.
Because full coverage projects represent substantial stitching commitments, previewing the chart before printing is essential. The browser interface lets you inspect symbol clarity and color distribution at no financial cost. Creating an account with Google provides 3 free credits to spend on pattern exports.
Each new PDF chart generation consumes 1 account credit. Once you create a chart, repeat downloads of that specific PDF cost nothing from your account balance. You can store your files on multiple devices and reprint damaged paper pages whenever needed. When you feel ready to turn an image into a full coverage cross stitch pattern, sign up on our website and download your complete printable chart.